Sunday, June 20, 2010

"Once Upon a Princess" Birthday Card

I love this new cartridge it has a lot of fun things to make. I used one of the princess (page 25 ) and dress (page 33 ), and the unicorn (page 58 ), for a friend who just turned 5. I added a little tulle to her crown as well.


Pin It!

Monday, June 14, 2010

Happy Birthday Banner for a 6 year old

My little friend turned 6, and asked for a pink and purple banner.  I used Tie the Knot for the banner and border. and Storybook for the font.  The font was all printed on glitter paper.

Wish I had a better picture to show, but for now this is all I have.

Pin It!

Sunday, June 13, 2010

New Cricut Lite at Wal-Mart

I stopped by my local Wal-Mart today and they had all the new Cricut Lite carts that are supposed to arrive on July 1st.  I bought the Celebrate with Flourish and can't wait to try it out.
Pin It!

Monday, June 7, 2010

Scrapbok Layouts

I have been on our annual houseboat trip at Lake Powell, UT. We had a great time and hopefully I can post a couple photos shortly.

Meanwhile here are a couple scrapbook pages I completed.

Martha Stewart punch to create the pink border, and SU Circle Circus then emboss with gold powder. Butterfly cut with MS punch on vinyl then peel sticky and used MS glitter.

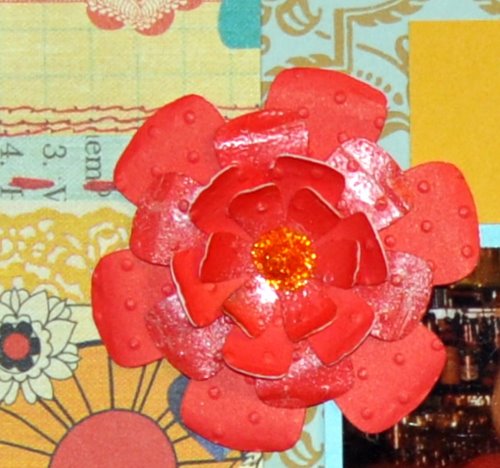
Flowers were cut with AE starting at 1"-2 3/8" and I spaced them out and made 3 flowers.  Some I embossed with clear powder to give the shiny look, all embossed with CB Dots folder.


Pin It!

Sunday, May 23, 2010

My New Etsy Purchases

I really love all the creative people on Etsy, and here are a couple of my new purchases.  Check out their sites below!

I bought this super cute camera strap, and they even added on my initials and the lens cap (very handy).  I then added my own Swarovski Crystals to my initial in black, and some clear ones throughout the strap.  This is a super comfy strap.

Check out her site:
SewTamz Designs


I then had Chanel a custom made name tag with a cute pink heart that is 3-D.  I then added some crystals.
Check out this site:
Henry Bear

Pin It!

Saturday, May 15, 2010

Shrinky Dinks using my Cricut

I bought the assortment color pack of Shrinky Dinks at Michaels today.  Since it has been more than 20 years of making a Shrinky Dink, I thought I would practice.  My least favorite color of all time is brown, so that is the color I chose to practice on for making a wine charm. 

Using George cartridge I cut the heart charm at 5", and placed in the oven for 2 mins at 325 degrees, it was too big, but I felt I had the hang of it.  I then tried at 4", and the shape melted into each other, and by the time I tried to separate it was too late.  I then tried 3" and that also melted into each other (maybe the shape is too delicate at a small size?).  At this point I was determined to get the heart to work, so I cut it one more time at 2.75" and this time used my heat gun.  As soon as the upper ends came towards each other, I used the heat gun to blow the heat and push it back down.  It worked!!!  I then took the heat gun to the other's that had melted to each other, and was able to un-melt them back into a heart. 

As you can see in the photos, they are not perfect and have lumps and even a hole from where I broke one when it was stuck together. 

Believe me they need some work, especially the second they are done, you need to press them down to make them more straight.  I have tried paper, and a bottom of a glass but they still have some lumps.

I will just keep practicing and hopefully get better really quickly.

Check out this sped up clip of the first batch in the oven.
Pin It!

Tuesday, May 11, 2010

Mother's Day Cards

I used Mother's Day for both cards


Pin It!

Sunday, May 9, 2010

Happy Birthday BBQ

Here are a couple pictures from our "April Birthday BBQ," from last weekend.  I have been trying to post all week, and here they are. 

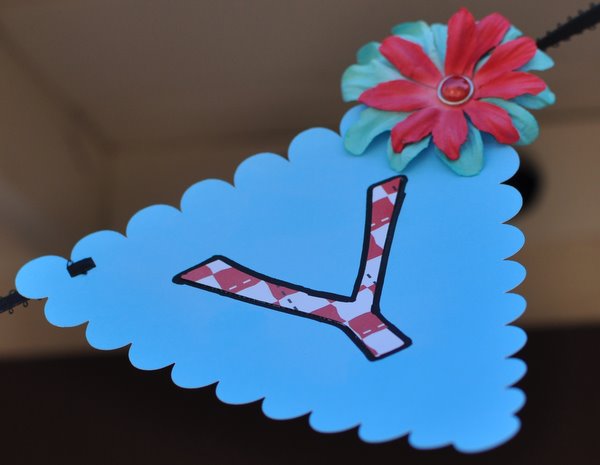
I cut the banner out using Tie the Knot= 5.5" using DS and fit 6 on a mat


BBQ=From the Kitchen
B-day Cake=Sweet Treats


Cone Box=Tie the Knot at 5.5", but they were a little too big, next time I'll cut 5"
I also added a little wax paper so the oils would not seep thru the paper

Pin It!